Now use your favorite imagewriting tool to write this diskimage to a USB stick. (Note this USB stick will be completely wiped during this process)
Boot with this USB stick on your target machine and do a text based install. (Second menu option)
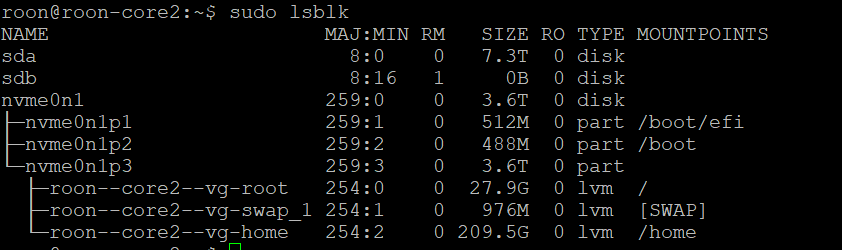
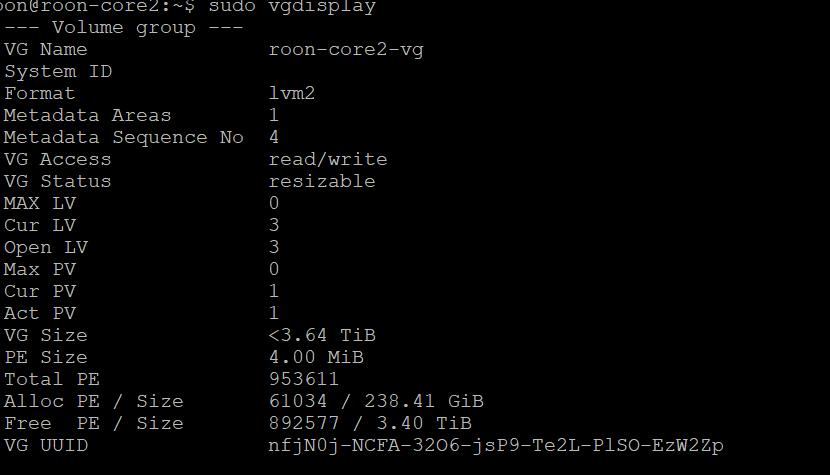
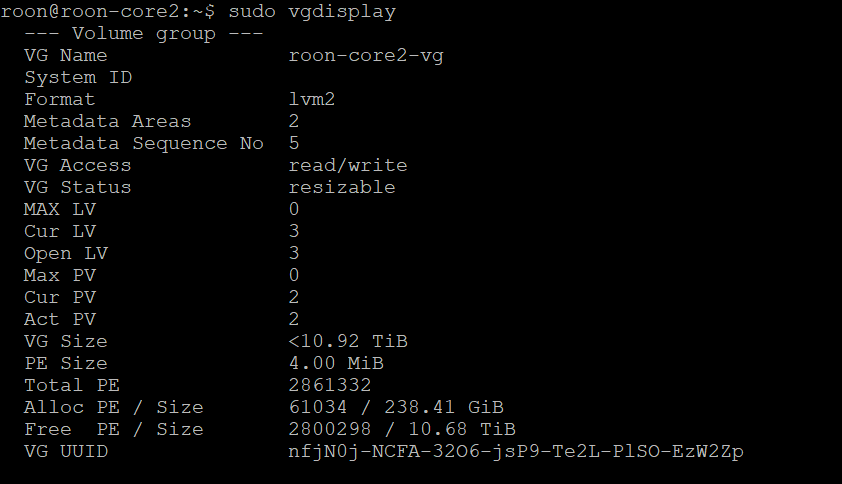
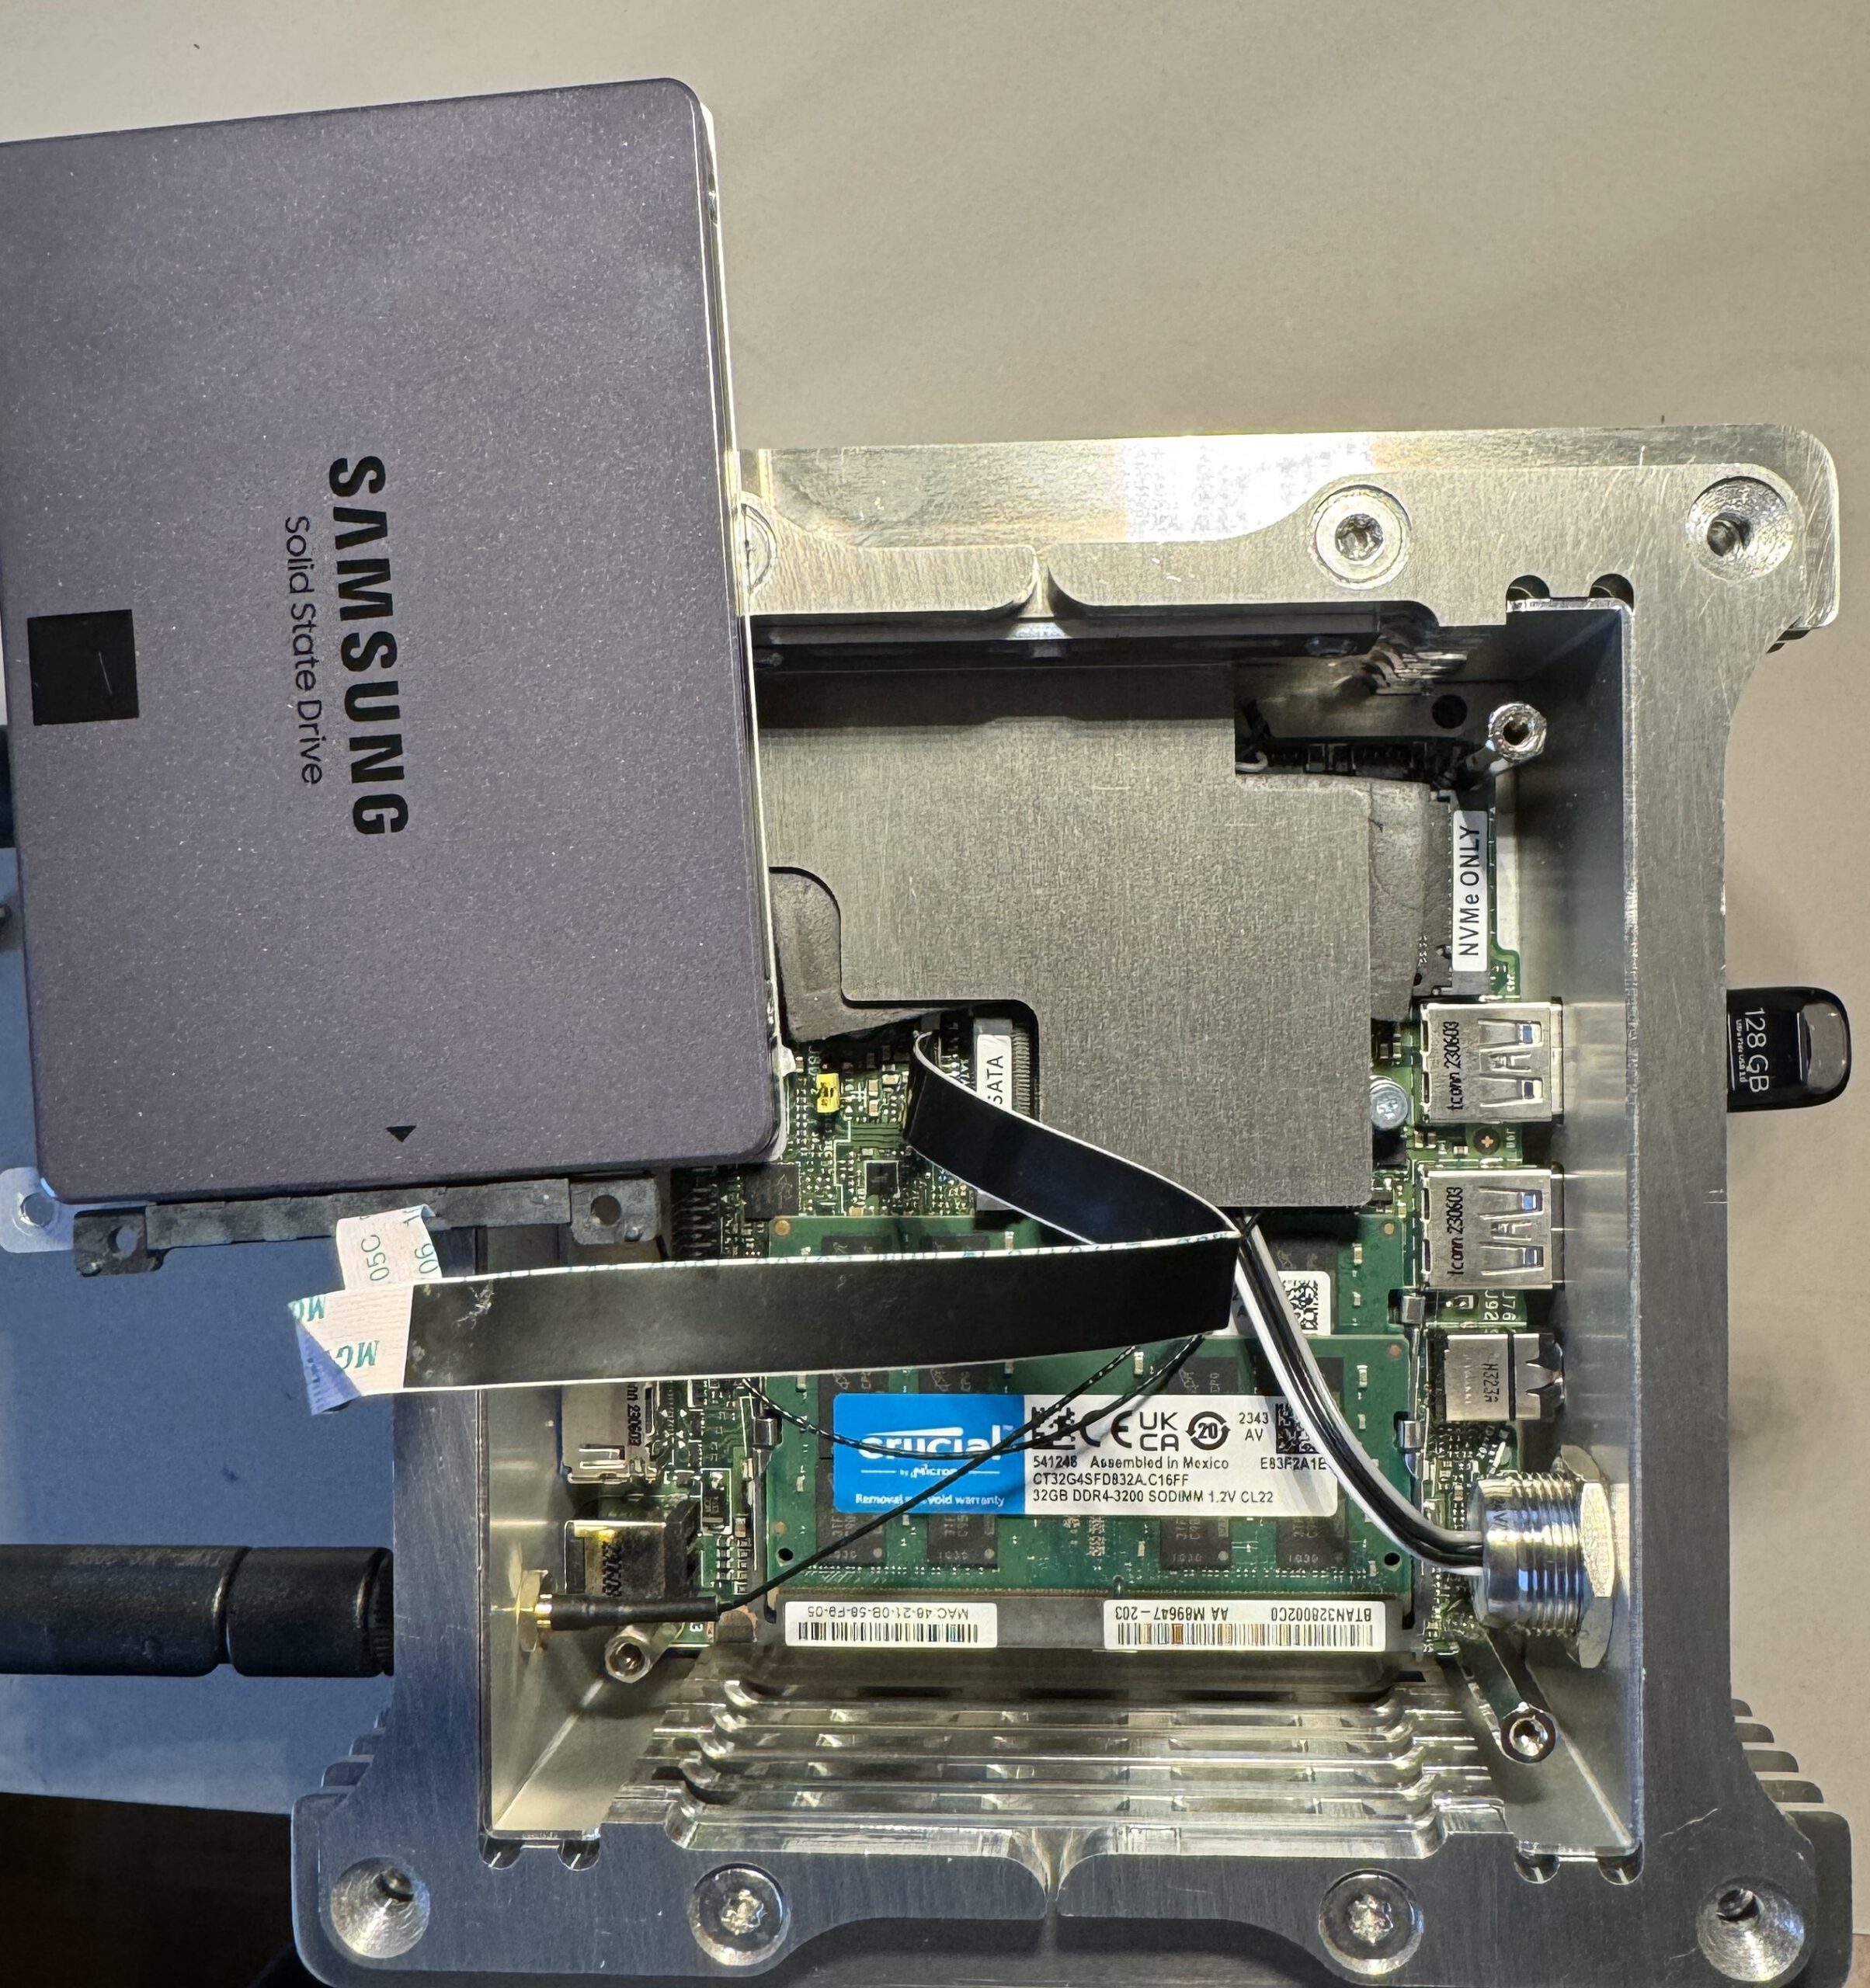
When asked choose LVM with seperate home partition. When you know what you are doing do whatever you like). Assign 256GB to the auto partitioning. (Gives us flexibility later)
In the installation process create a user called roon.
When selecting the install options only choose „ssh server“ and „standard system utilities“ so we get a bare minimum system.
now login as roon and install some fundamentals:
This will
update your sytem to allow installing the lastest tools
upgrade our base install
Install sudo so we can execute privileged commands as our newly created roon user
install the curl tool to allow command linde downloads from http sources
install your favorite editor (vim or nano)
the gnupg key lib
a tool to show the usage of your system ressources
# need to do this as root as we do not have sudo yetsu-apt-getupdate-yapt-getupgrade-yapt-getinstallsudocurlnanovimgnupg2htop-y
As we will use a secure shell connection to do all sorts of admin tasks to our new „perfect“ roon core, you might consider to enable passworless login via a certificate.
Create SSH Directory and Authorized Keys File: For the user that will be logging in, ensure that the .ssh directory exists in their home directory and create the authorized_keys file:
First run the PUTTYgen app to generate a new certificate pair
save public key and private key to a secure place
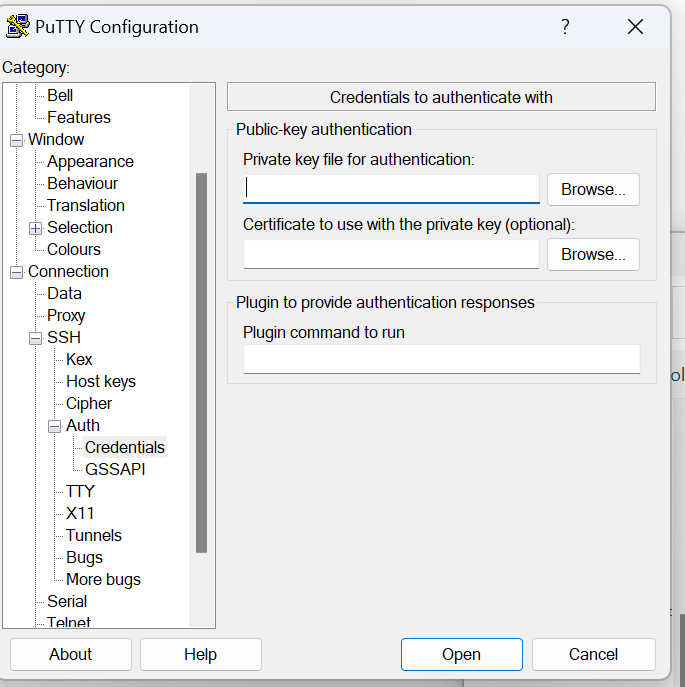
INstall the private key within your putty roon session
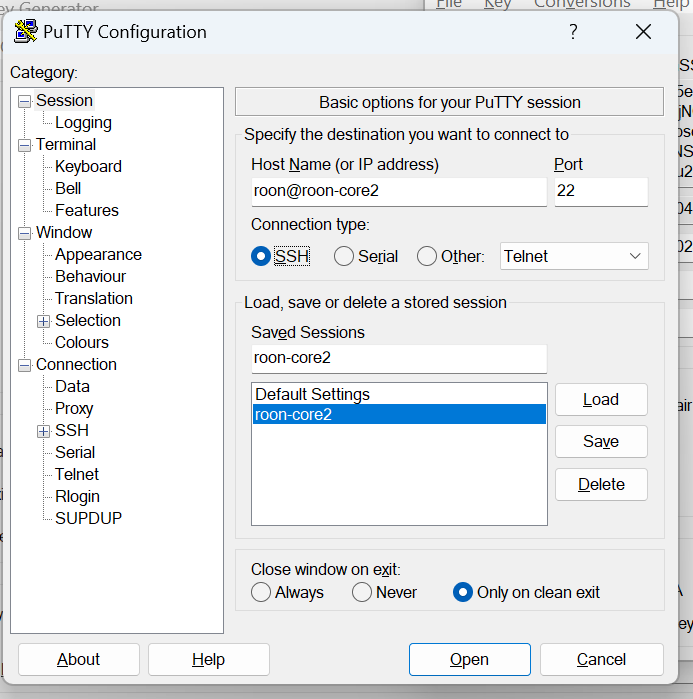
and save the configuration in putty:
Add Public Key: Add the client’s public SSH key to the authorized keys
You can do this by copying and pasting the key directly into the file.Should be all in one line and drop the rsa-key-xxxxxxx at then end otherwise it will not work!
vim~/.ssh/authorized_keys
Restart the SSH service:
sudosystemctlrestartssh
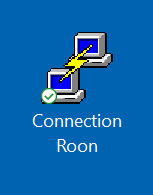
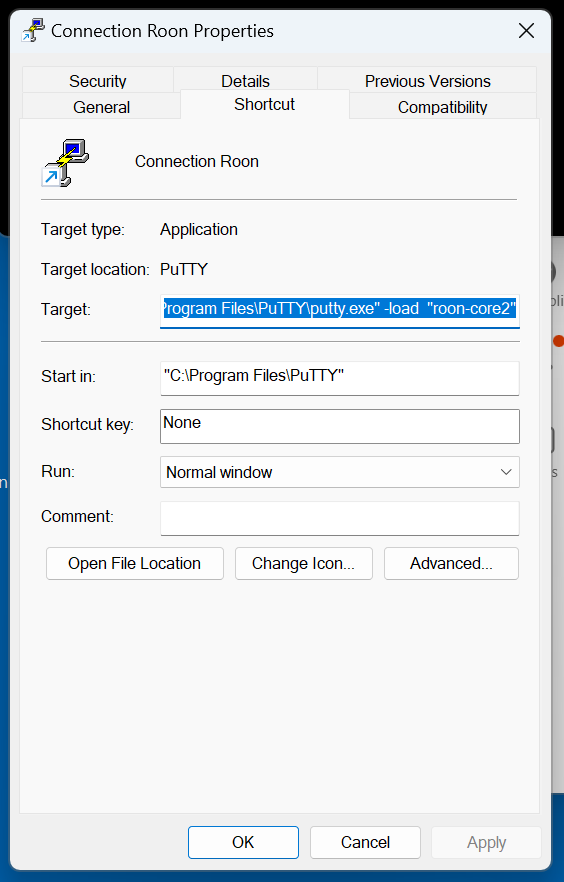
you might do a short cut for your desktop so you can easily do a one click login:
Create a short link with the following parameter, replace „roon-core2“ with the session configuration name you have choosen earlier in putty when saving.
Let´s make that permanent (you could do this for multiple connections)
# and make it stickysudonmcliconnectionmodify'apfelhome'connection.autoconnectyes# and add a high prioritysudonmcliconmodify"apfelhome"connection.autoconnect-priority100sudosystemctlrestartNetworkManager
and you will find the config in /etc/NetworkManager
Optional configure an hotspot for configurations
configure a hotspot for admin purposes if there is now WLAN:
# Create a new Wi-Fi connectionsudonmcliconaddtypewifiifnamewlo1con-nameHotspotautoconnectyesssidroon-install# Set the connection to sharedsudonmcliconmodifyHotspot802-11-wireless.modeap802-11-wireless.bandbgipv4.methodsharedipv4.addresses10.1.0.1/24# Set the Wi-Fi securitysudonmcliconmodifyHotspotwifi-sec.key-mgmtwpa-psk#replace Blaubär01with a password of your choicesudonmcliconmodifyHotspotwifi-sec.pskBlaubär01# Enable the hotspotsudonmcliconupHotspot# give it a low priority sudonmcliconmodify"Hotspot"connection.autoconnect-priority5
If you would like to sync data from your NAS to the local disc you might wan´t to mount you NAS or remote volume directly.
install the necessary driver for the remote filesystem and create a mount point:
sudoapt-getinstallcifs-utilssmbclient-ysudomkdir-p/mnt/NAS-musicsudochown-Rroon:roon/mnt/NAS-music# try it outsudomount-tcifs//paulus/music/mnt/NAS-music/-ousername=nasuser,password=nasPW
und nun bei Bedarf in die fstab: securely store the credentials:
This script might run for a very long time… To make it independent from your session you may use a terminal multiplexer called tmux. You find more details at the endo of the following article: 10 Maintenance – Hauptsache es klingt ! (apfelbeck.at)
You would like to use an attached display to show the ROON web display? Don´t do it on low powerd machines
# add a dedicated user for it sudouseradd-mroon-displaysudopasswdroon-display# and now install some lightwight X enviromentsudoapt-getinstallxorgchromiumopenboxlightdmxdotoolunclutter# thisis evilsudomv/etc/pam.d/lightdm-autologin/etc/pam.d/lightdm# and edit the lightdm.comfsudonano/etc/lightdm/lightdm.conf
The –disable-gpu option took me quite some time to find out. The Mesa Driver for the Iris XE integrated INTEL processor graphic used in combination with the chromium browser has a rendering bug in combination deploying two SODIMMs (thus enable dual channel DRAM access)
Added unclutter to hide the Mouse Pointer.
We should reconnect – here every 5 Minutes – from time to time (is it a bug or feature ?)
as user roon-display do (important needs to be executed in the right user context)
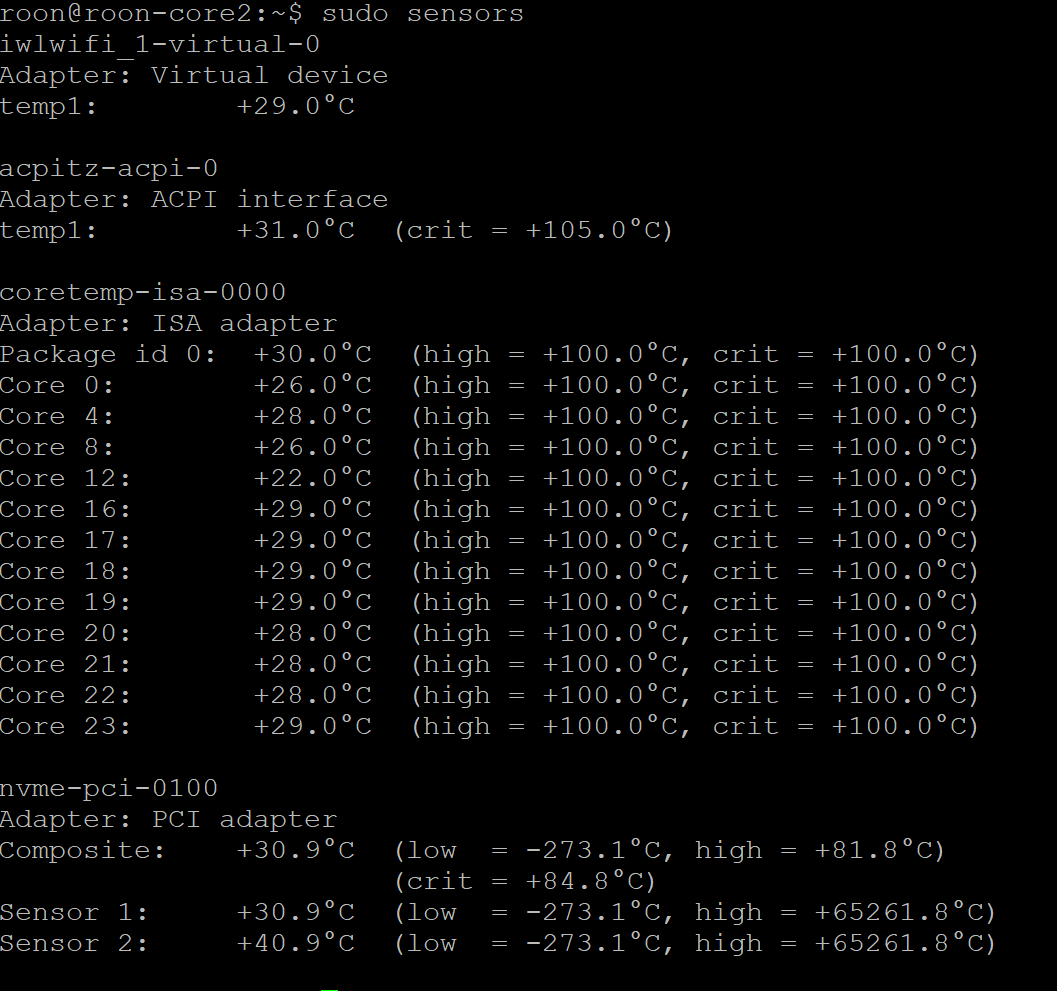
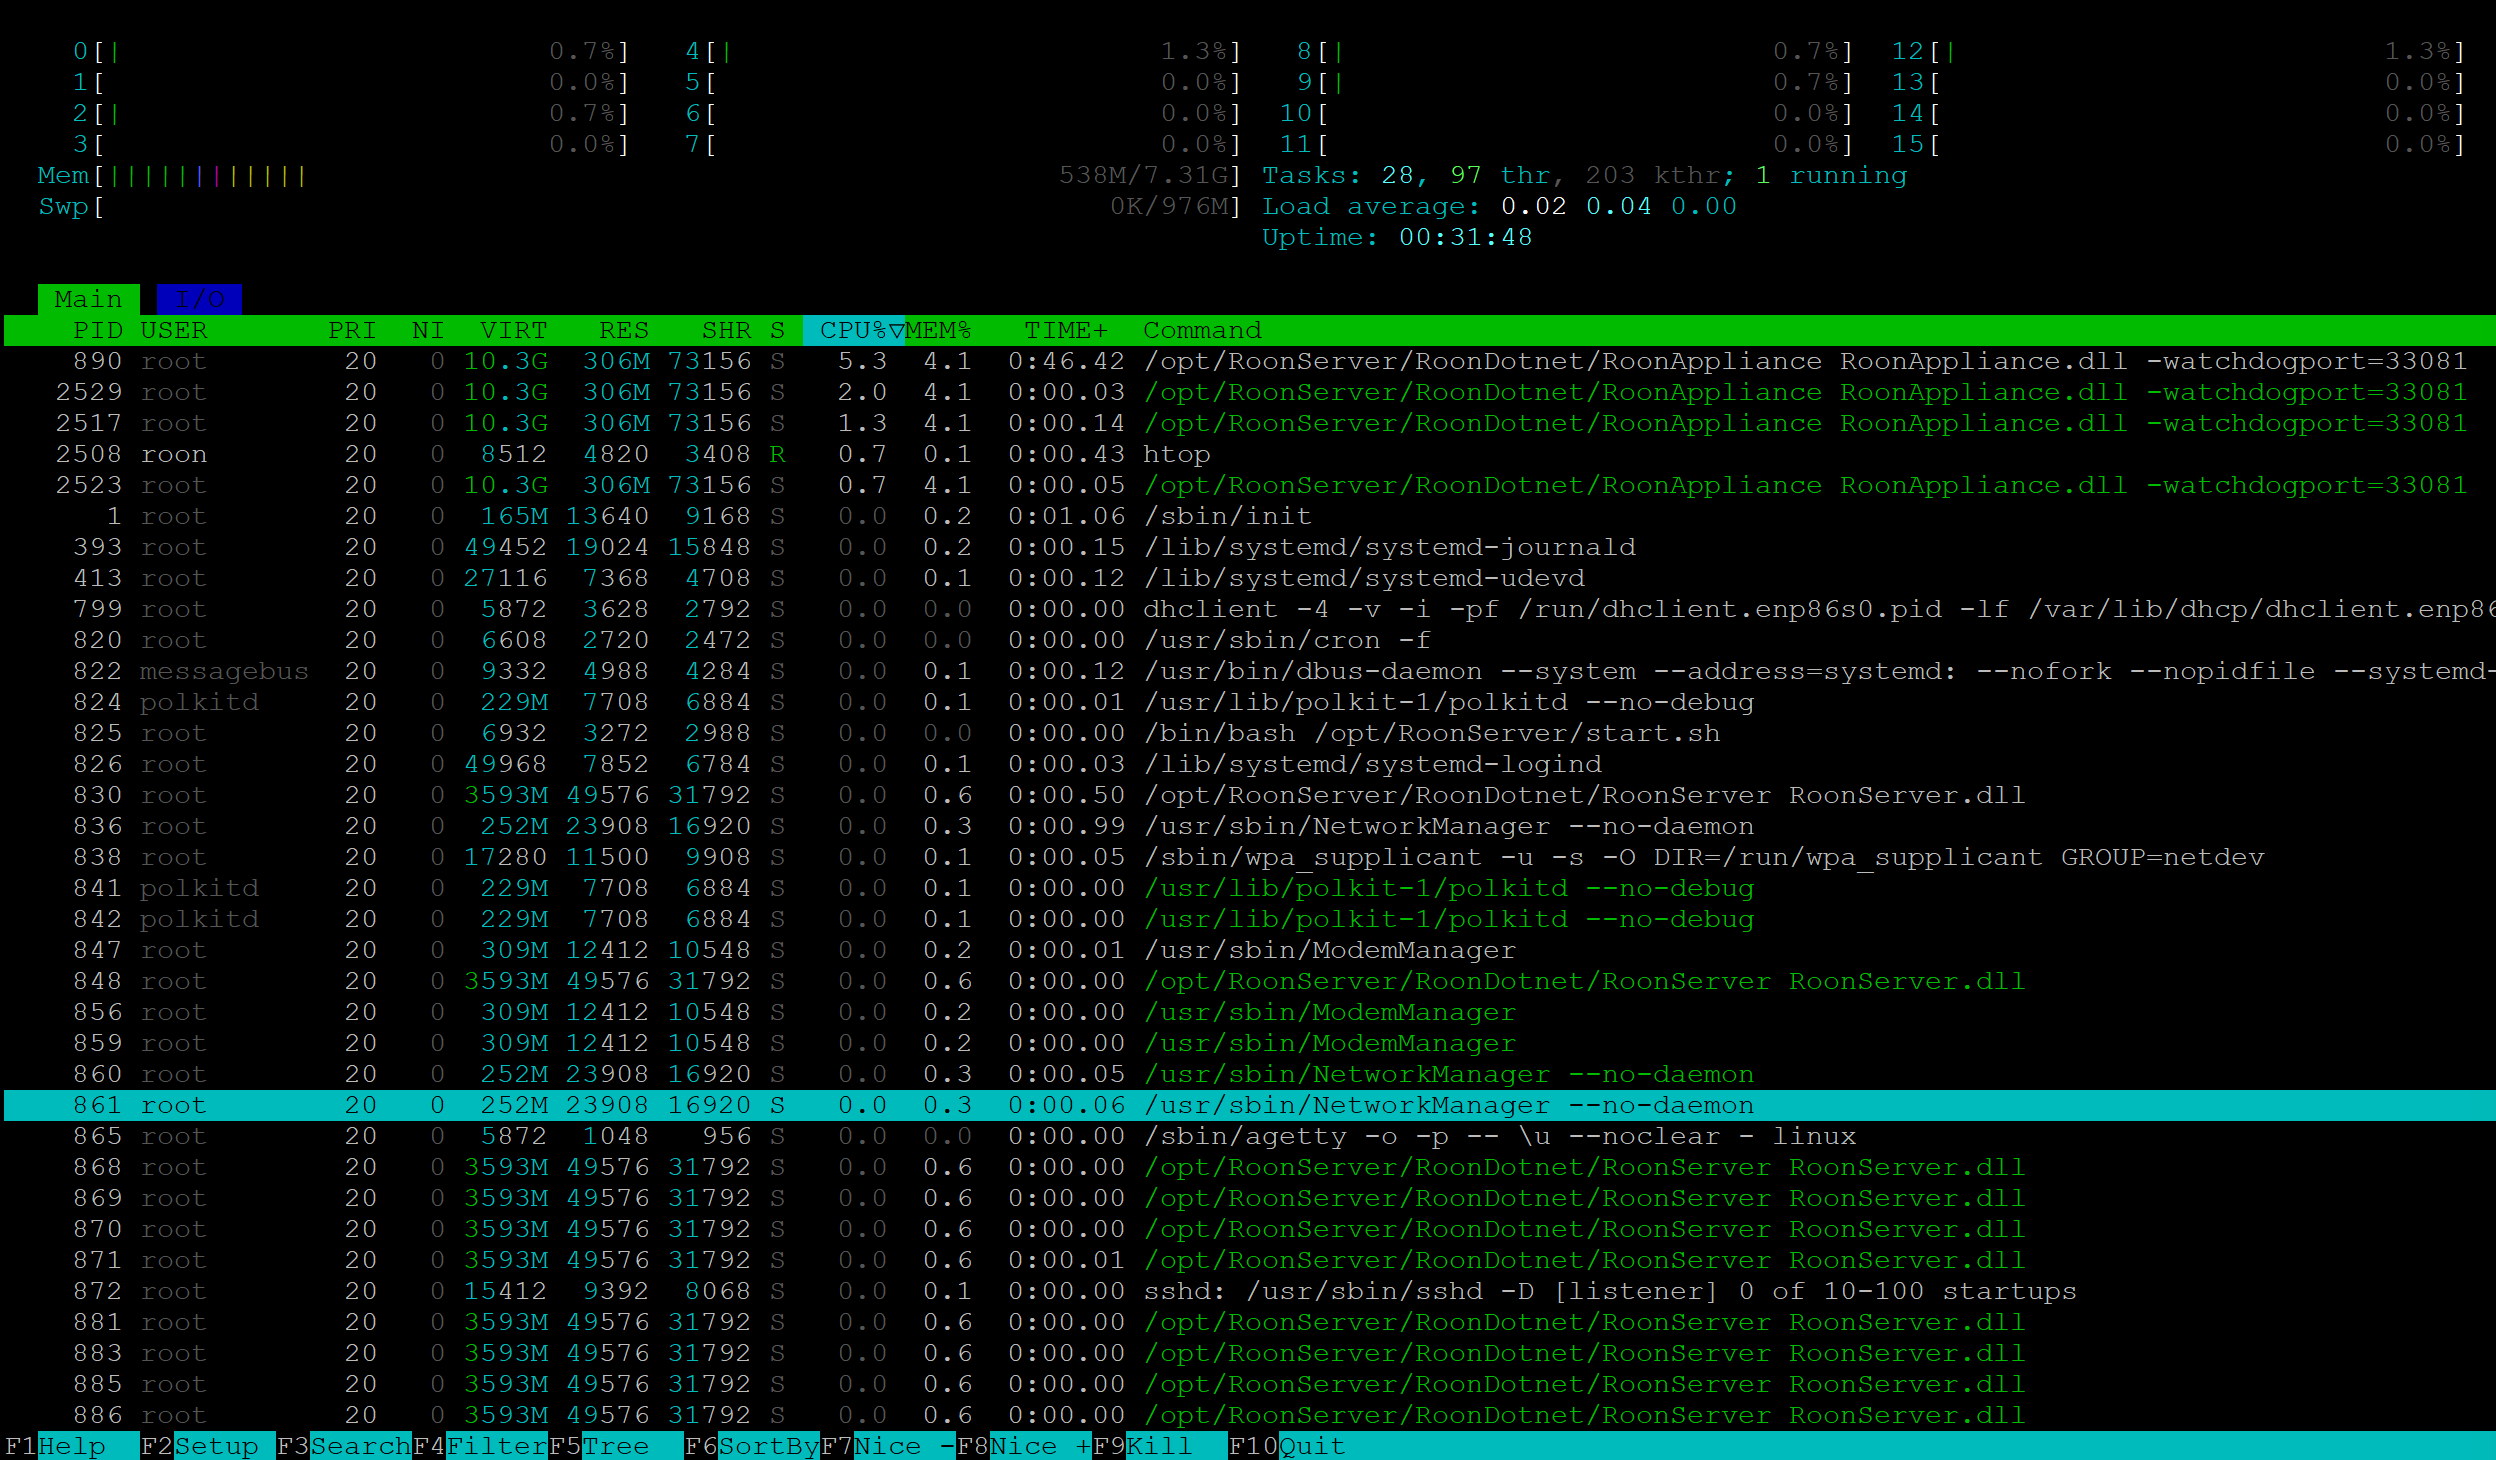
my passively cooled NUC 13 stays nice and cool even while indexing:
Checking System Ressource Usage
you may stop it with CTRL-C
sudohtop
Logging……
We have to get used to systemd and the logging and service management. Here some hints where to find logs
Roonserver and Raatserver logs can be found:
# Everything regarding the Management of your music, Desktop,..../var/roon/RoonServer/Logs# Audio Backbone : (Roon Advanced Audio Transport/var/roon/RAATServer/Logs
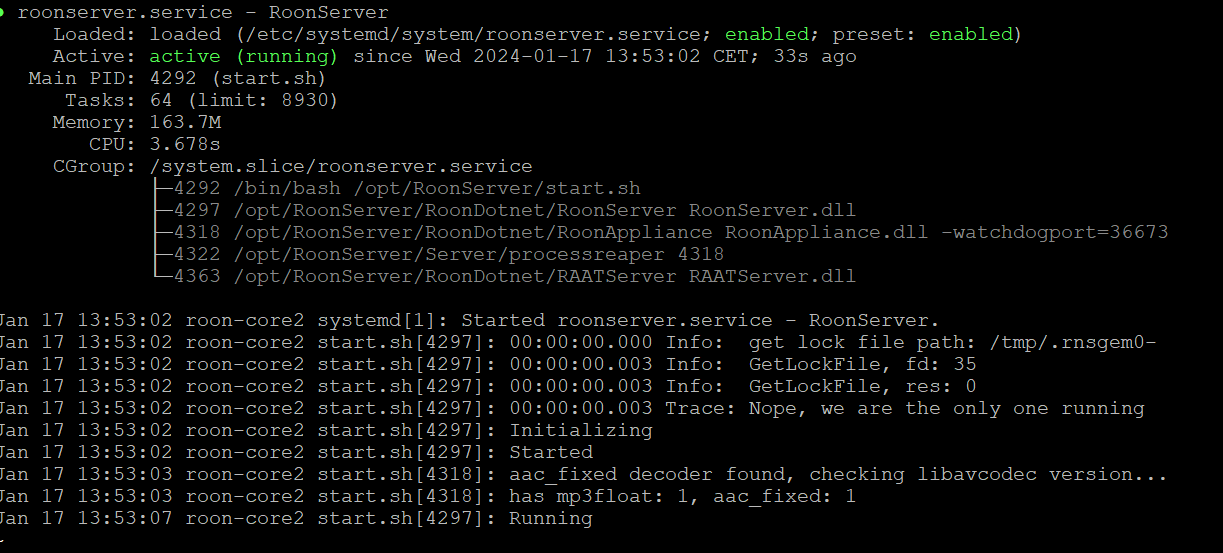
You may to use journalctl to derive logging of the roonserver systemd unit.
sudo journalctl -u roonserver
sudojournalctl-uroonserver
To get a list of all services which are running and can be used as filter or to be modified by systemctl:
systemctl|greprunning
Most command commands within systemctl
# get the status of a servicesudosystemctlstatusroonserver# start the servicesudosystemctlstartroonserver# stop the servicesudosystemctlstoproonserver# stop and emideatly restartsudosystemctlrestartroonserver# start service when booting(does not immideatly start it, you have to do it manually if you do not reboot!sudosystemctlenableroonserver# disable from autostartsudosystemctldisableroonserver
Usefull Options for journalctl
# -k gets your the kernel log messages (eg nftables events)sudojournalctl-k|grep'nftables'# while this gives you anything which is related to the service managment sudojournlctl-unftables# there are plenty way to to filter for the event time e.g.# everything since the last bootsudojournalctl-b# specific timestampsudojournalctl--since"2023-01-01"--until"2023-01-31"sudojournalctl--sincetodaysudojournalctl--since"2024-01-17 12:00:00"# and to get continous logging to you console use -f# like tail -f in good old times....sudojournalctl-kf|grep'nftables'
Run sessions in your user context tht survive you ssh session
For long running scripts it is helpfull to make a user sesion independent from your ssh conection. Normally your session ends with all running cripts as soon as you disconnect your ssh connection, however there are basiclly two tools to allow you to run „virtual screens“ for session. The traditional one is „screen“ however the more modern and ressource friendly way is „tmux“. You can also run multiple session in one connection.
# install tmux (terminal multiplexer)sudoapt-getinstalltmux# start a new virtual screentmuxnew-ssession_name# after you closed your connection try tmuxls# and you find all open virtual windows# than connectto ittmuxattach-tsession_name# You can also start tmux without any parameters and than do CTRL-B W# you shall try CTRL-B ? to seel all available shortcuts within a tmux screen
to close all sessions and windows and clean upp (alls sessions will e interrupted
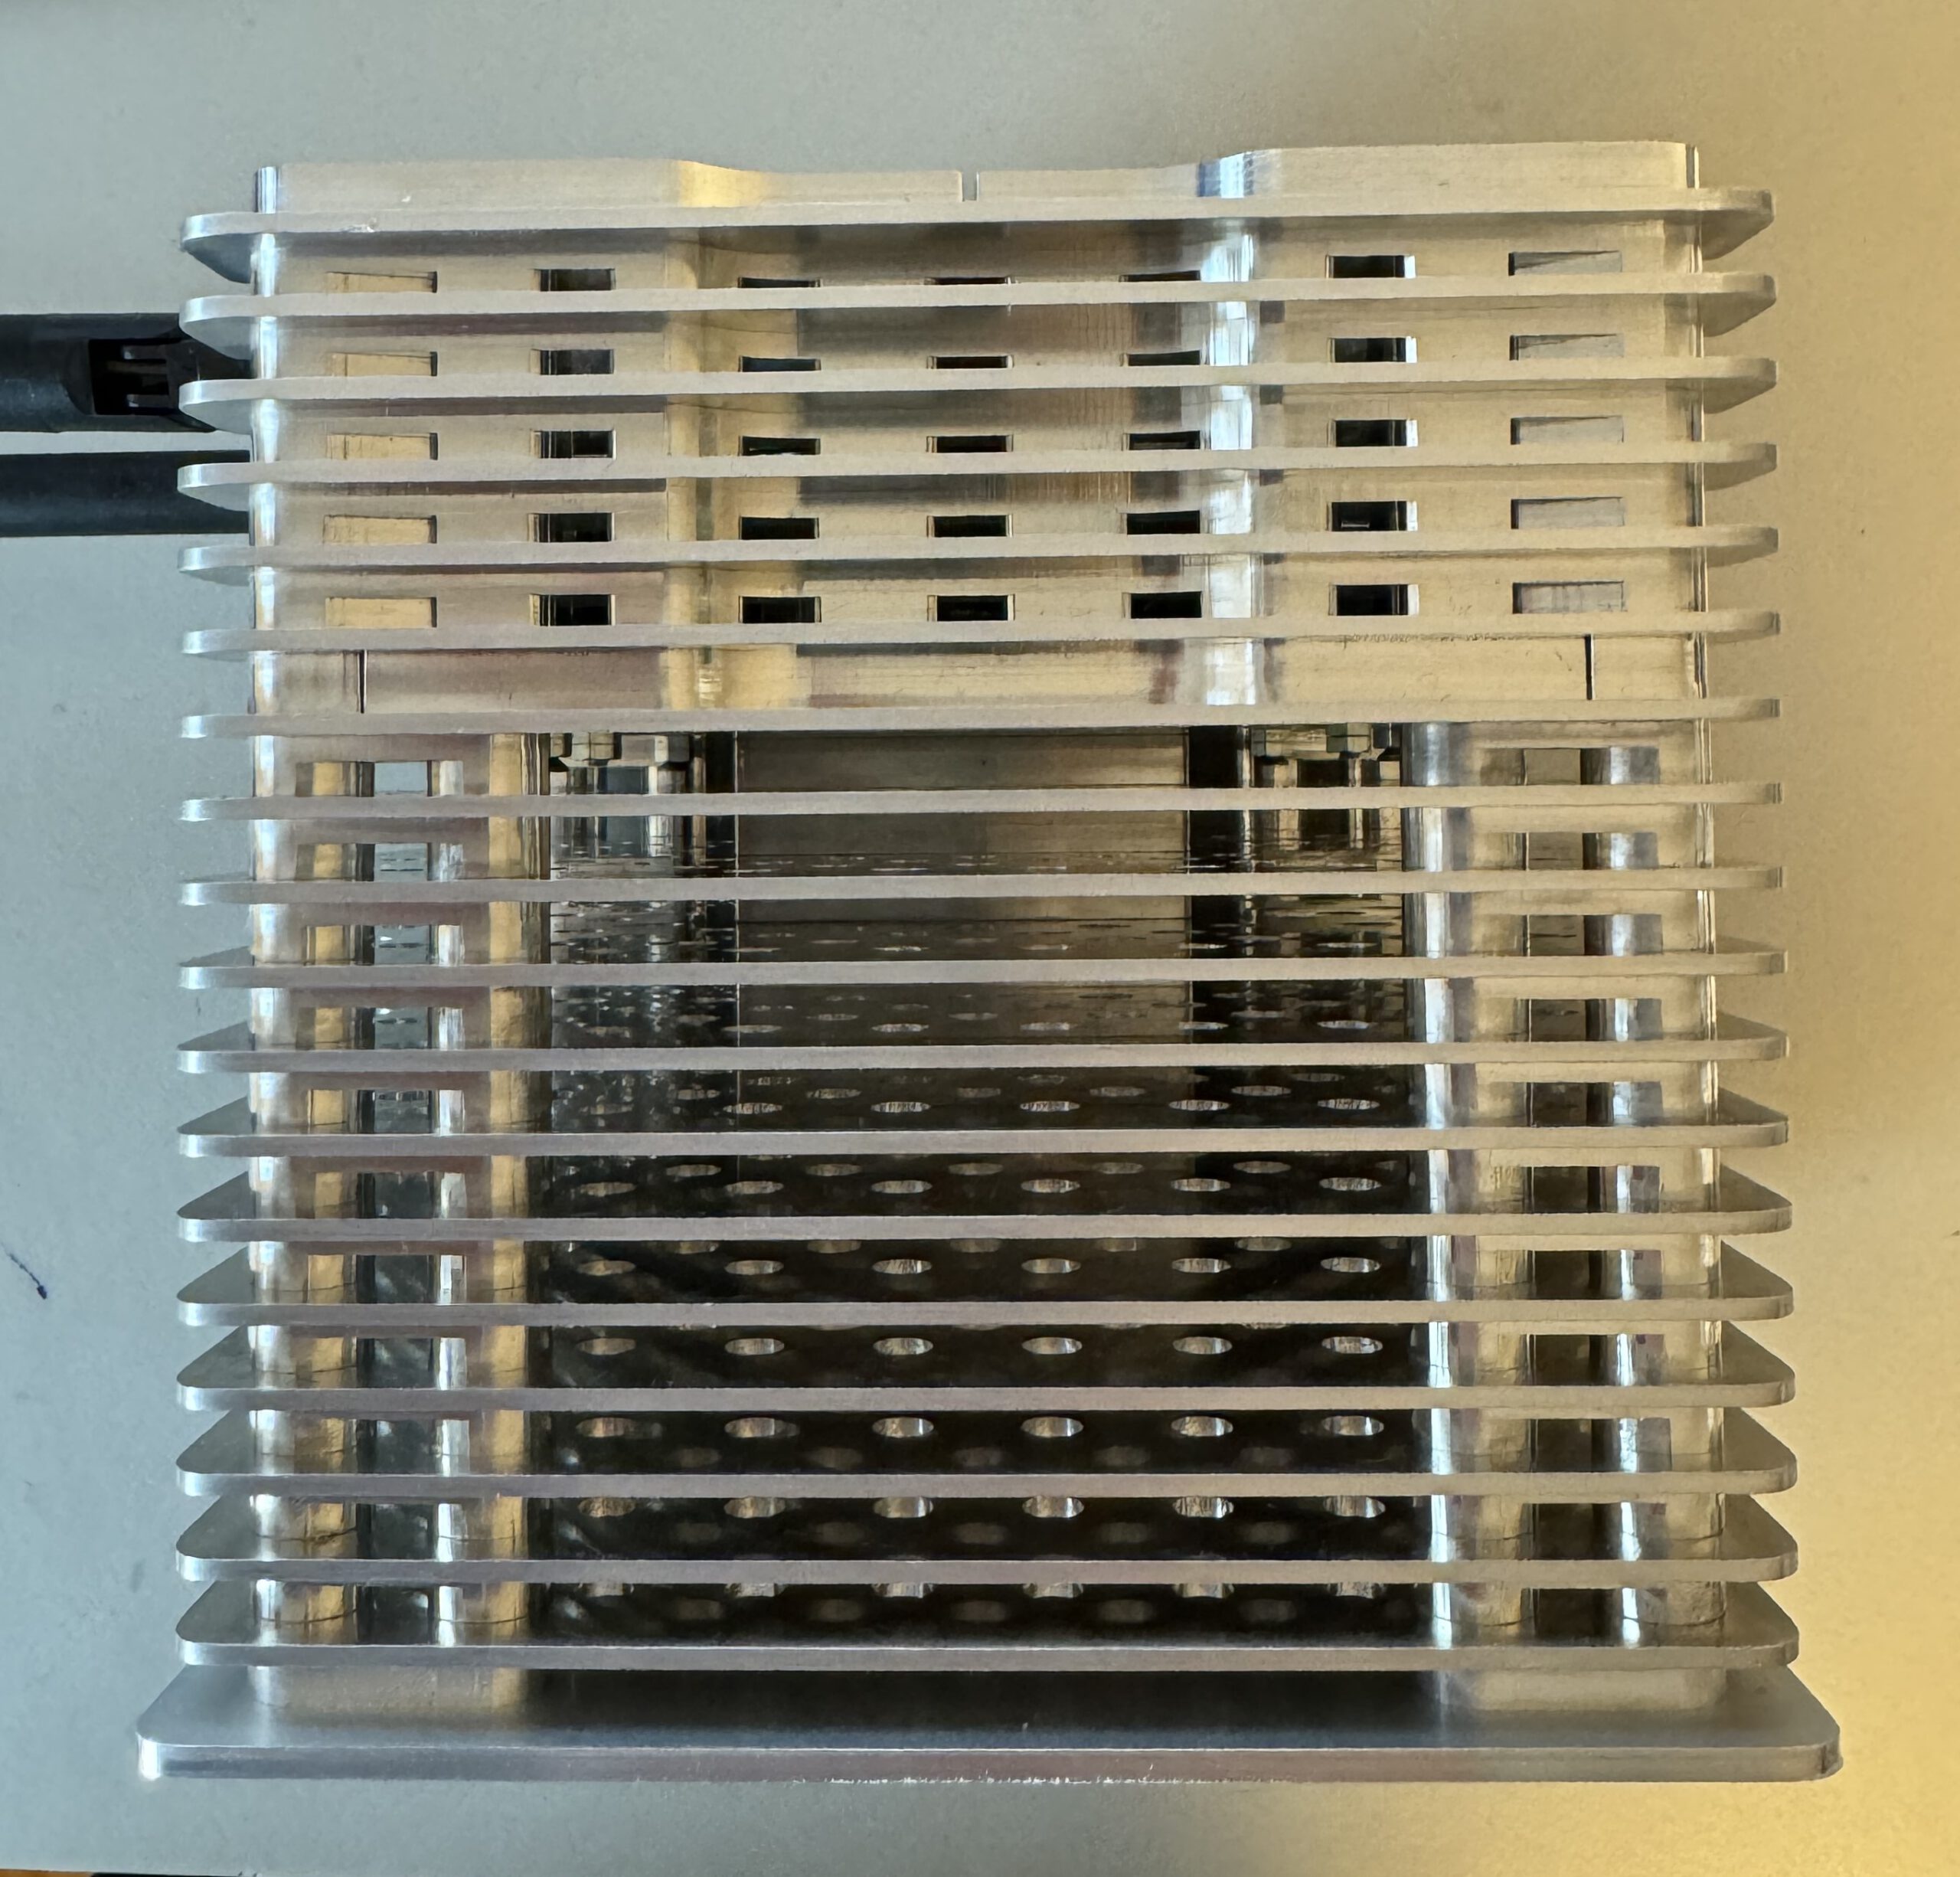
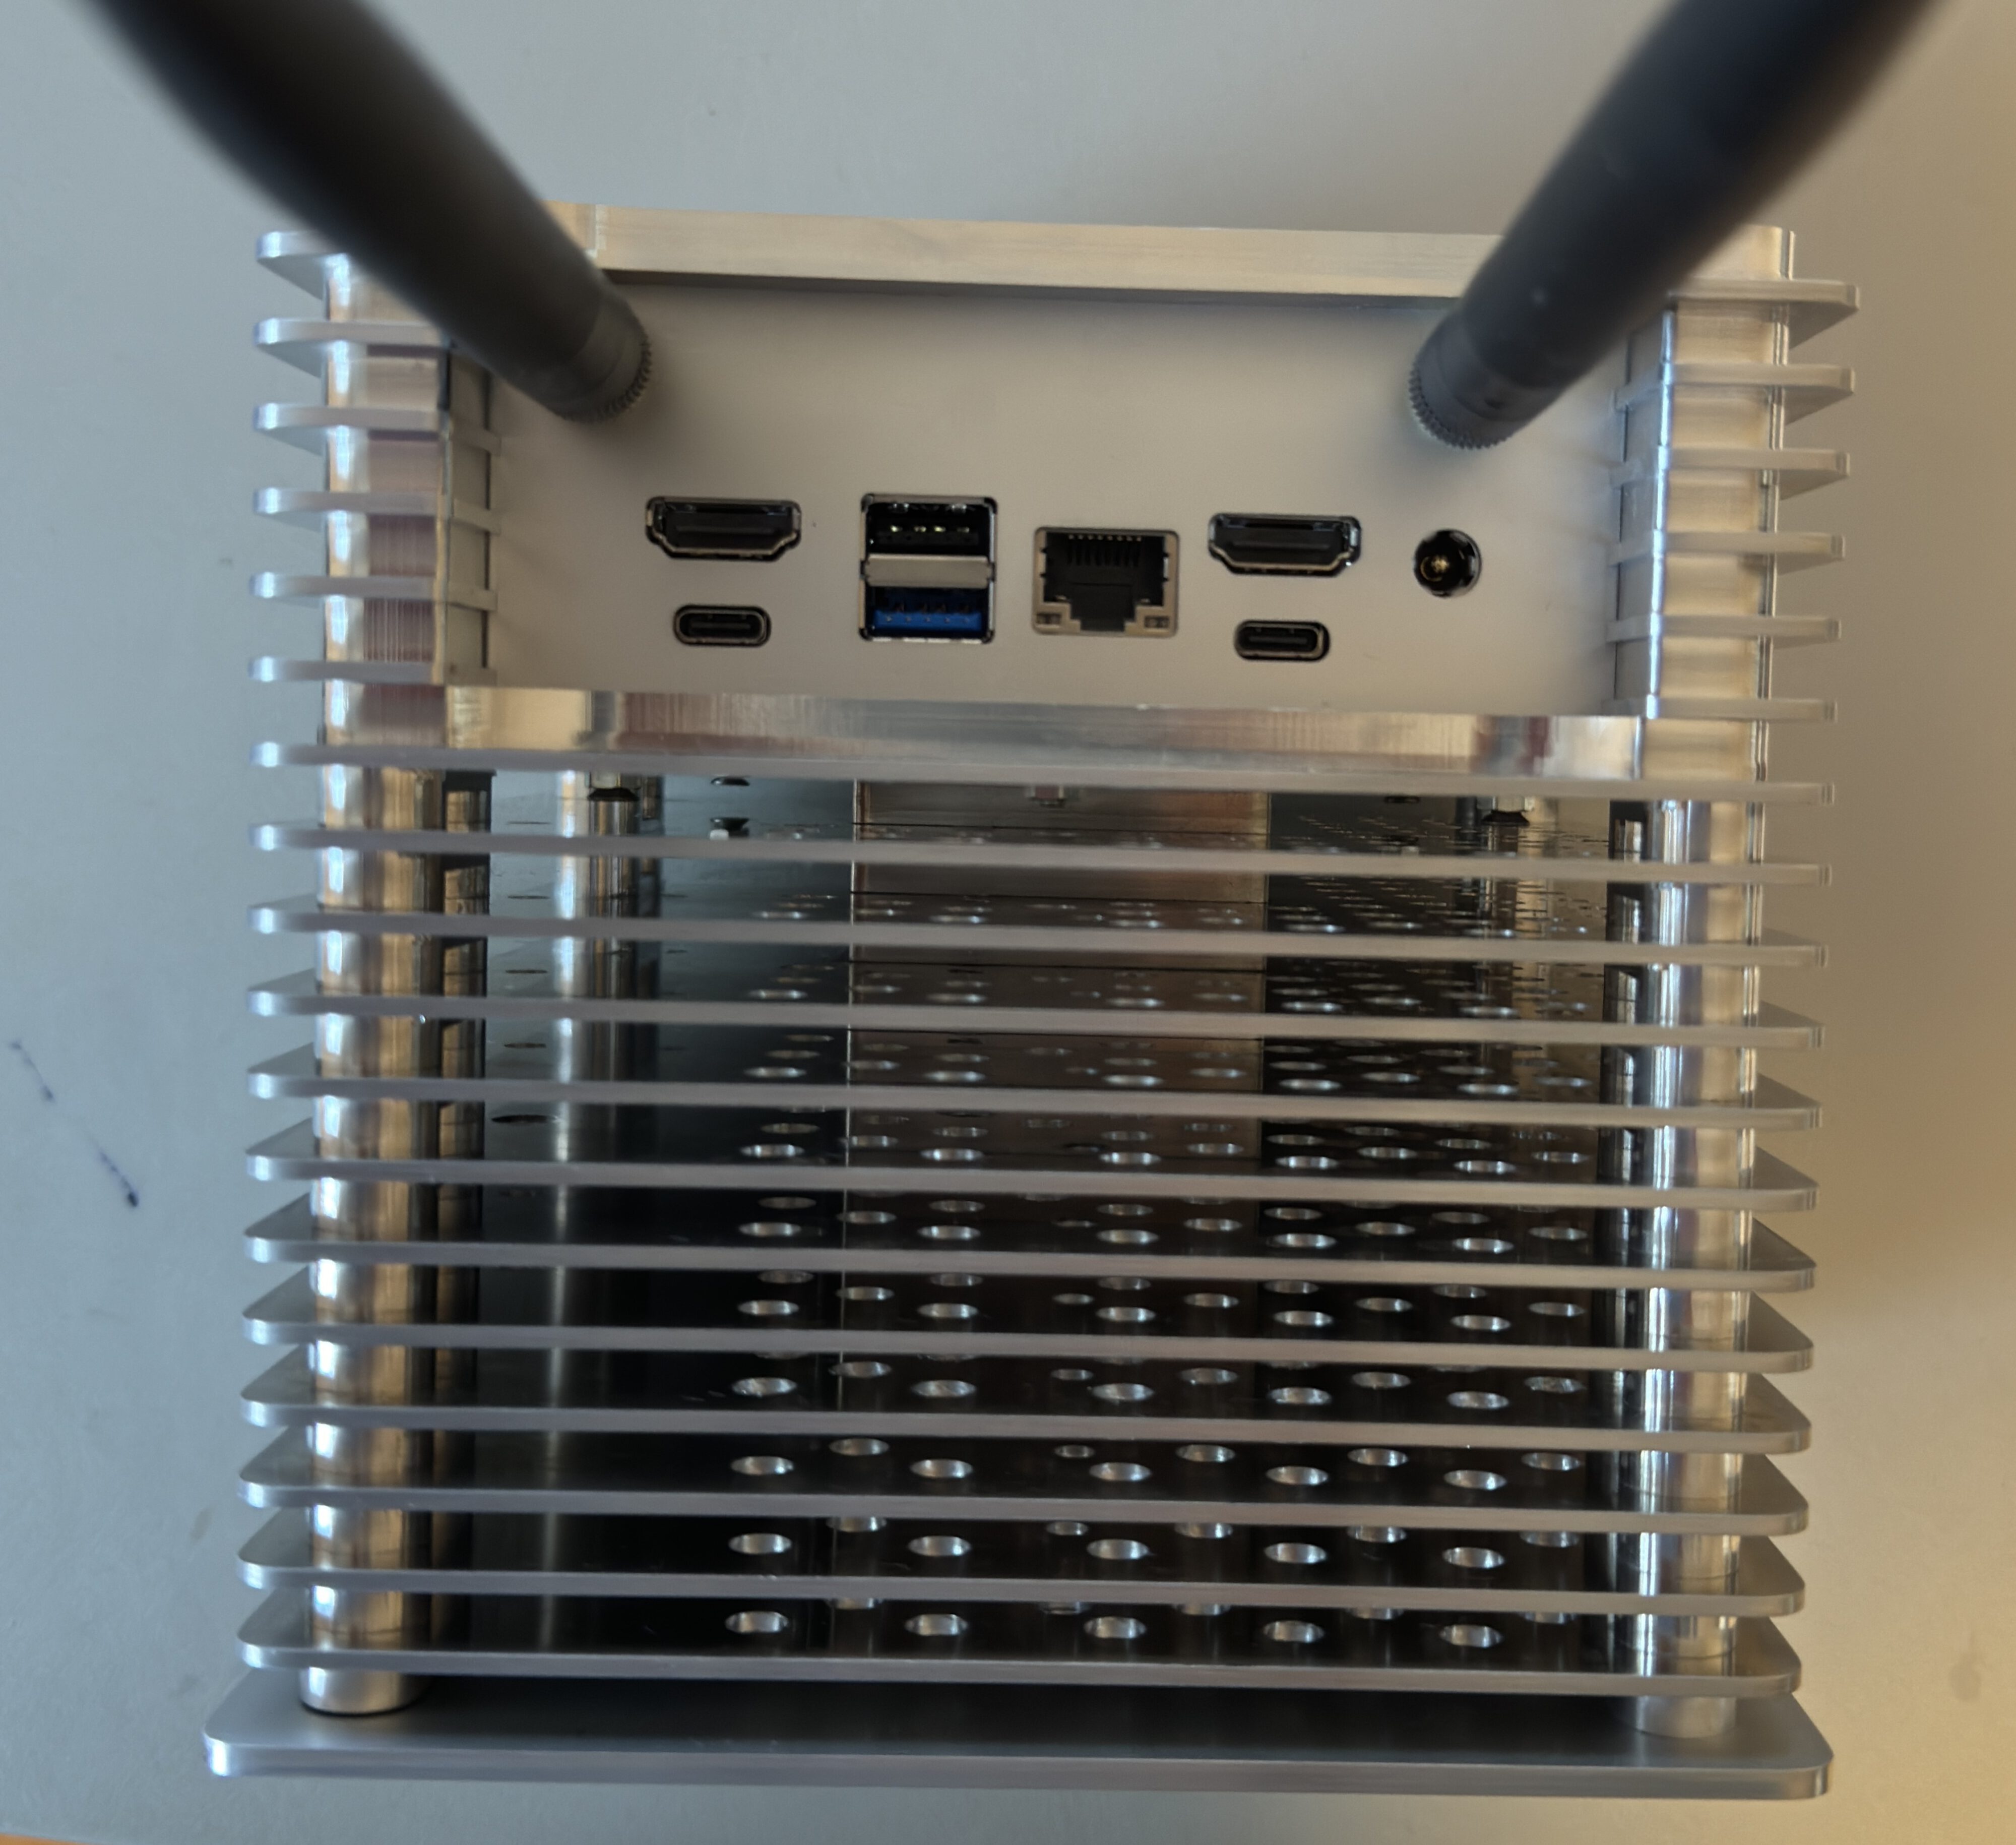
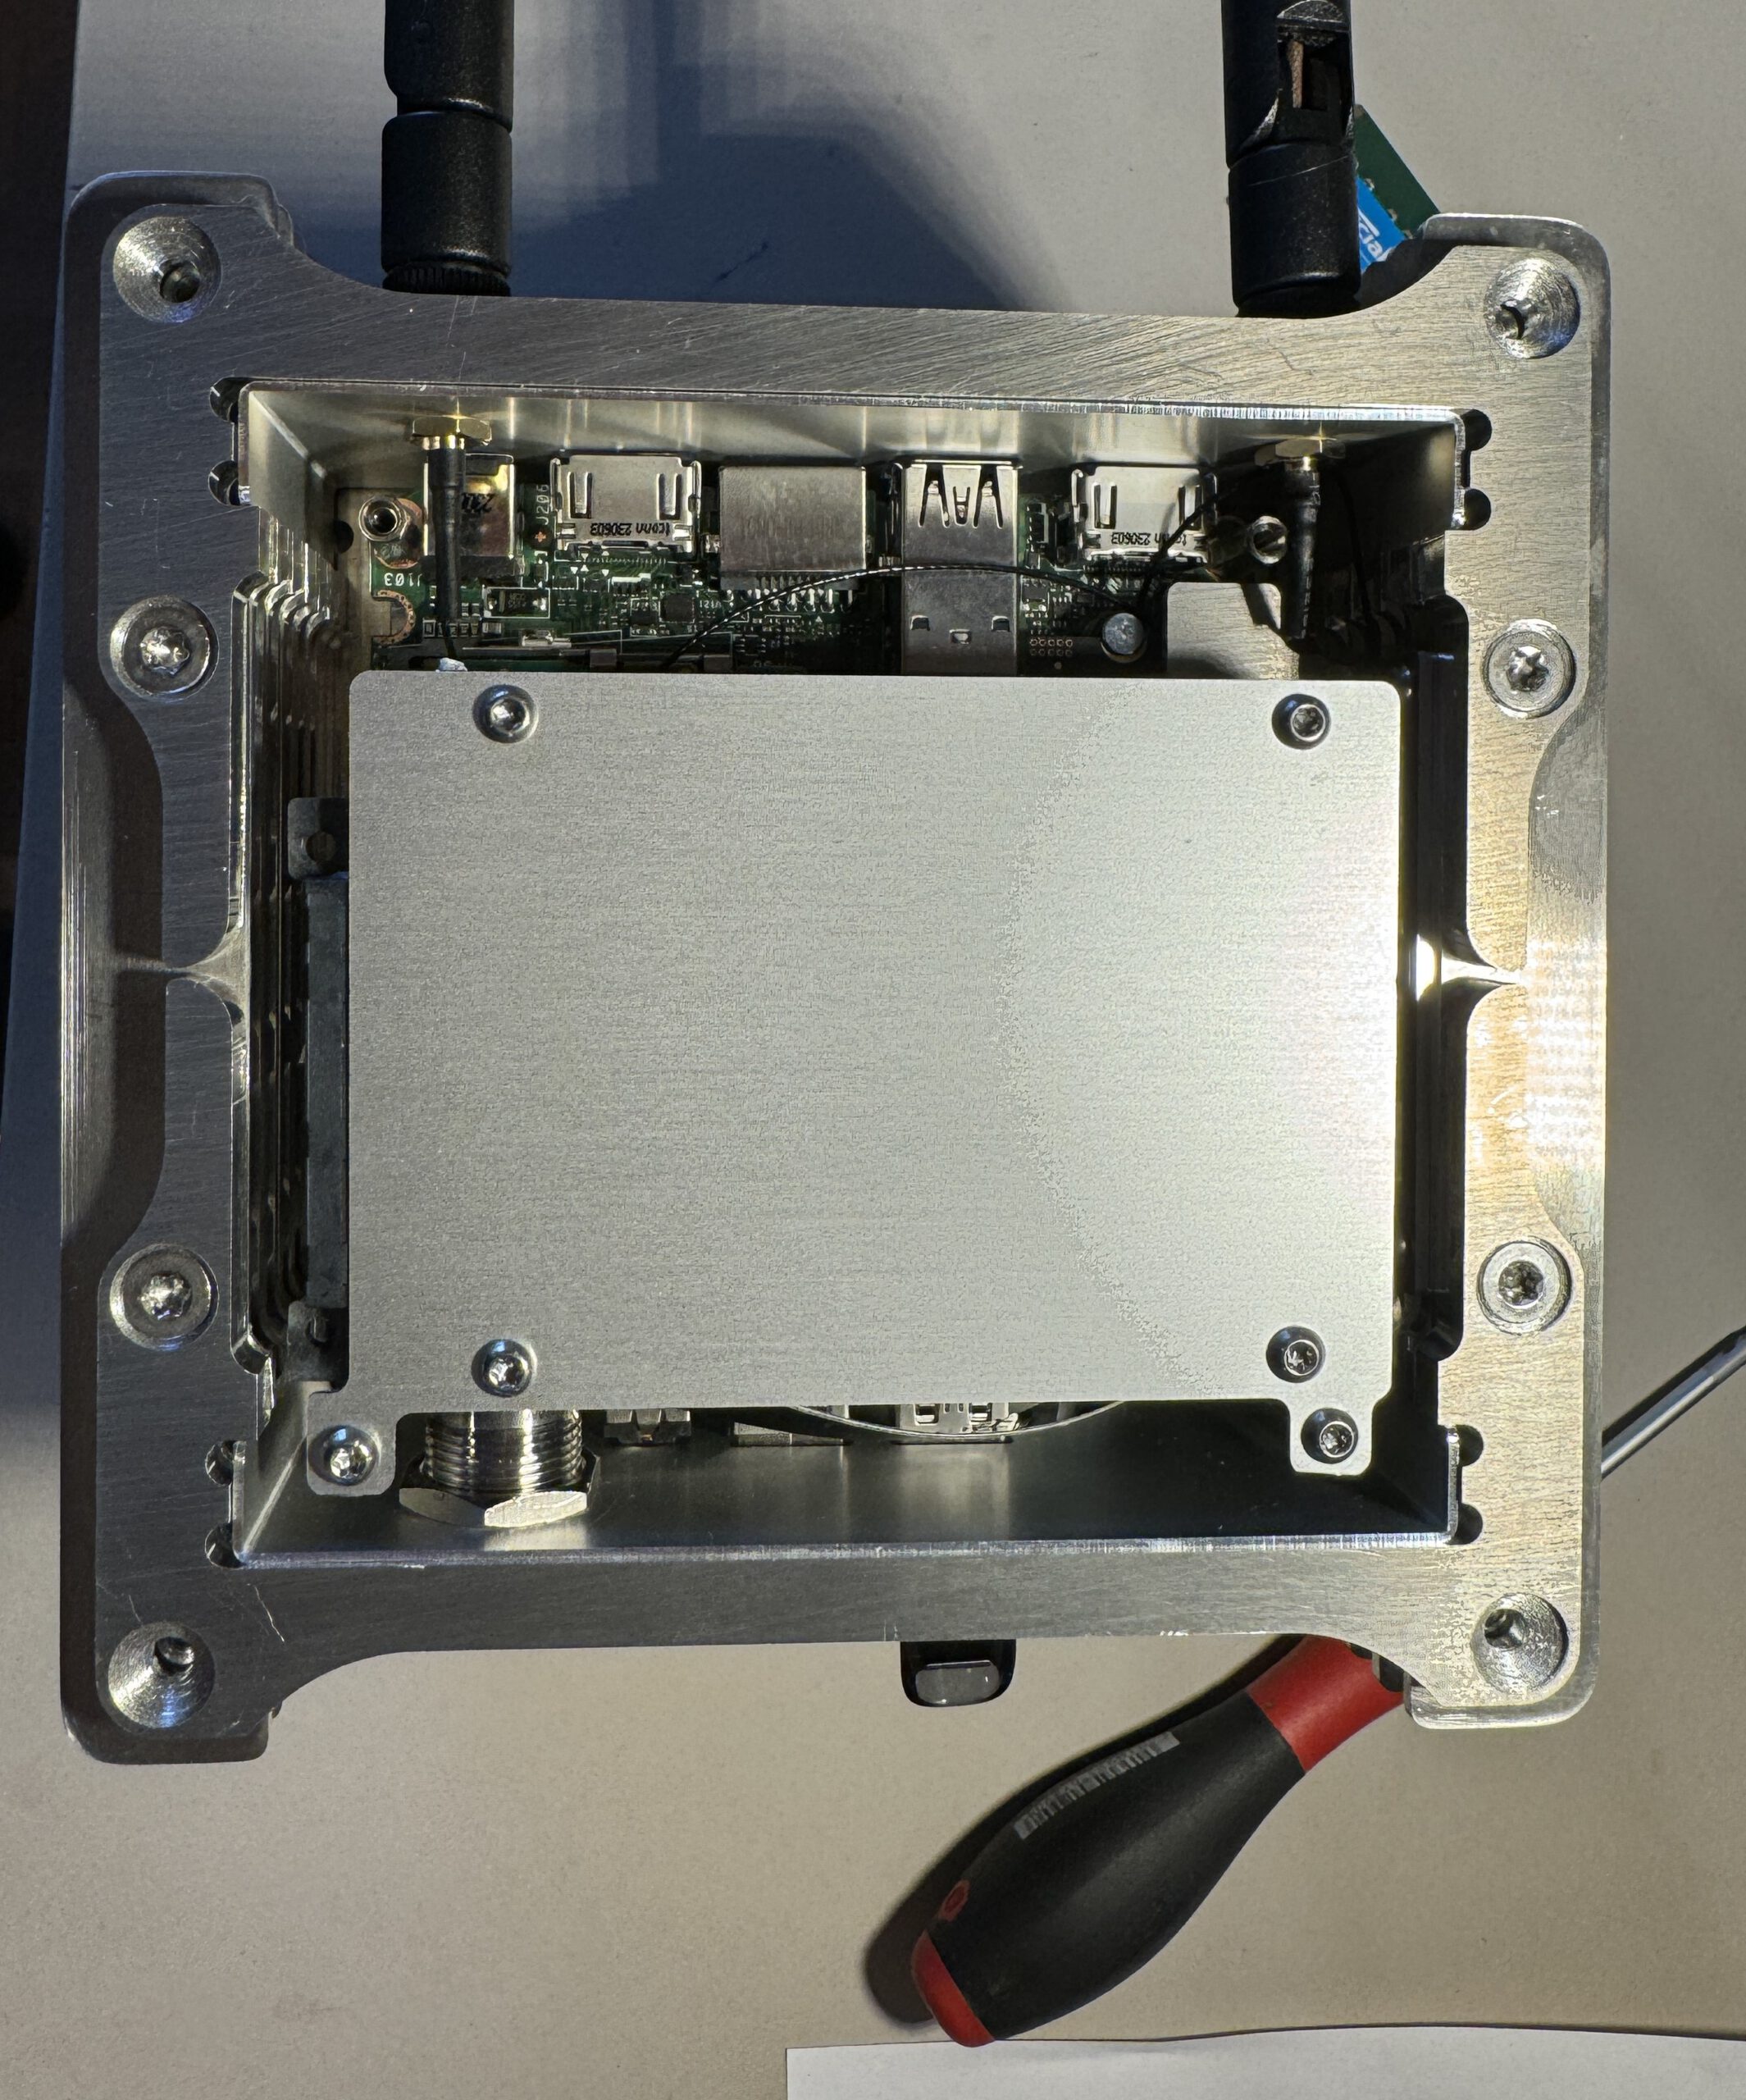
After using AKASA, HDPLEX and other passive solutions I know ended up with a massive passive case from Cirrus7. Buying the extended cooling option it is hard to get it above 45 Celsius.
Quite happy with the build quality, and one can order them without a logo.